In the world of beauty, long, fluttery eyelashes have always been a symbol of femininity and allure. Many individuals turn to eyelash extensions to achieve that coveted wide-eyed look, but salon appointments can be expensive and time-consuming. Luckily, there’s a budget-friendly alternative that allows you to enjoy stunning lashes from the comfort of your own home: DIY lash extensions. In this comprehensive guide, we’ll walk you through the process of achieving salon-quality lashes without breaking the bank.
Before we dive into the how-to’s, it’s crucial to grasp the basics of lash extensions. So, what exactly are they?
What Are Eyelash Extensions?
Lash extensions are not all that different from your regular false lashes. Essentially, they involve attaching individual lash fibers to your natural lashes using a special medical-grade adhesive. This process is designed to give your lashes a boost in terms of length, fullness, curl, and thickness. However, the key distinction lies in the super-strength glue used and the special remover required
The adhesive used for professional lash extensions is often strong enough to allow you to go about your daily routine, including washing your face, without worrying about your lashes going rogue. The icing on the cake? These extensions can last for several weeks.
That’s why lash extension has been such a hot craze. However, the high cost and the need for regular maintenance have held many people back. This is when we recommend DIY lash extensions, a much more affordable alternative.
What Are DIY Lash Extensions?
DIY lash extensions are artificial eyelashes designed for self-application without the need to visit a salon. These lashes are available in strips made of synthetic fibers and are affixed to your natural lashes using a less potent semi-permanent adhesive compared to what professionals use.
Is it Safe to Do DIY Lash Extensions?
Can you do your own lash extensions safely? Yep, you totally can; just be careful about it. It’s generally safe, and your DIY eyelash extensions won’t wreck your real lashes if you treat them right. Simple things like not rubbing your eyes and avoiding waterproof mascara can help them last longer.
But here’s the deal: if you go for super heavy extensions, your natural lashes might get a bit weaker and drop out earlier than expected, so be mindful of that.
And if you’ve got allergies or are sensitive to glue, it’s probably best to skip this procedure to avoid any issues.
Benefits of DIY eyelash extensions
1. Cost-Effective
Salon eyelash extensions can be expensive (around $200 for a complete set), damage your natural lashes, and make it difficult to use eye and facial treatments. Professional extensions can take up to two hours to apply and need a lot of maintenance. It can also be quite pricey because you have to keep going back for touch-ups.
Getting your eyelashes done professionally DIY lash extensions are a more wallet-friendly alternative. You can grab all the stuff you need—lashes, glue, and tools—without breaking the bank. It’s a lifesaver for people on a tight budget.
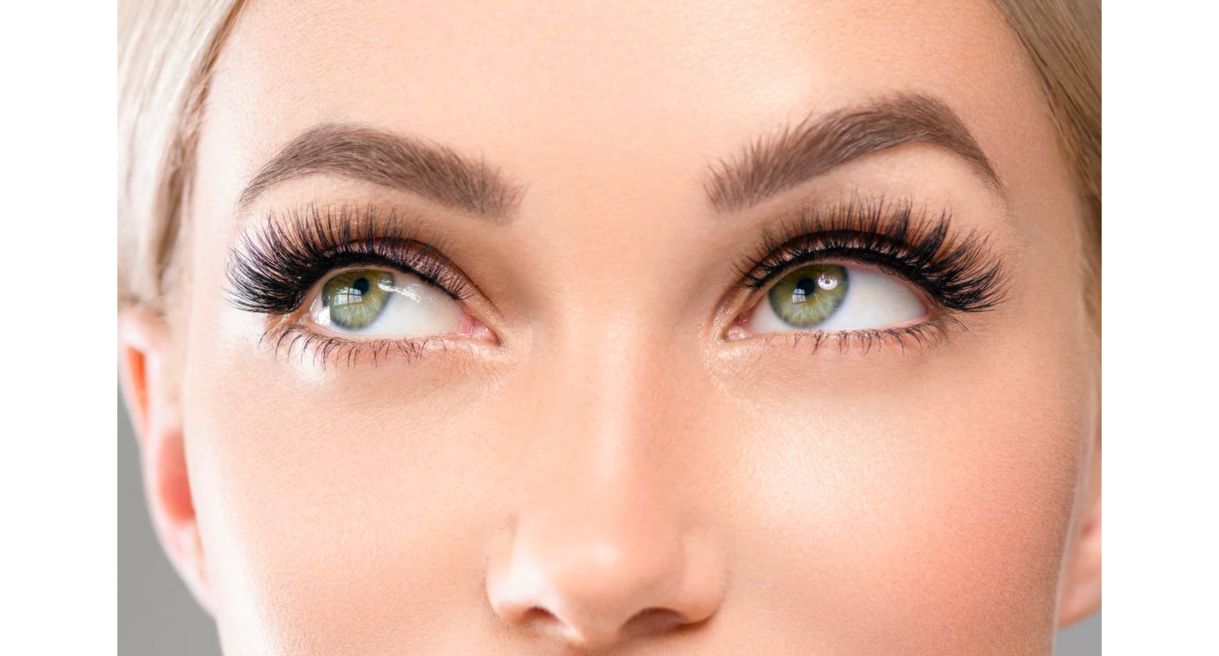
While they may not provide the same level of dramatic effect, they still result in long, fluttery, and well-defined lashes that outshine a simple tube of mascara.

2. Convenience
DIY eyelash extensions provide the convenience of applying them in the comfort of your own home. No more booking appointments or schlepping to a salon. Perfect for busy bees or anyone who likes doing their own beauty thing. You pick the time and take your sweet time without any rush.
3. Customization
When you do your own at home eyelash extensions, you have complete control over the final result. You can customize the length, thickness, and style of your lashes to match your personal preferences. Whether you want a subtle, natural look for everyday wear or dramatic, voluminous lashes for a special occasion, DIY eyelash extensions allow you to achieve the exact look you desire.
4. Learning Experience
Applying lash extensions at home can be a skill-building experience. While there may be a learning curve, with practice, you can become more proficient at the application process. Over time, you’ll gain confidence in your abilities and may even develop the expertise to create intricate lash styles. Learning this skill can be empowering and save you money in the long run.
5. Privacy
Some individuals value their privacy when it comes to beauty treatments. DIY eyelash extensions offer a discreet option that allows you to maintain your privacy throughout the process. You can apply your extensions without having to interact with salon staff or other customers, making it a more comfortable experience for those who prefer solitude during beauty routines.
6. Reduced Risk of Allergic Reactions
When you choose your adhesive and materials for DIY eyelash extensions, you have greater control over what products are used. This means you can select hypoallergenic or sensitive-skin-friendly materials, reducing the risk of allergic reactions or irritation that can occur when you’re exposed to products used in a salon, which may not always cater to specific sensitivities.
How To Do DIY Lash Extensions
Wondering how to do your own lash extensions?
Creating DIY lash extensions by cutting up false lashes can be a cost-effective way to achieve longer, fuller lashes without the commitment or expense of professional extensions. Here’s a step-by-step guide on how to do it:
Materials You’ll Need
- False eyelashes
- Small scissors
- Eyelash adhesive
- Tweezers
- Makeup remover (if needed)
Step-by-Step Instructions:
- Clean-up: Use makeup remover on a cotton swab to remove any excess adhesive or makeup residue around your eyes. Make sure your lashes are entirely clean so that adhesive can grip on well.

2. Choose Your False Lashes: Start by selecting a pair of false lashes that match the length and style you desire. Strip lashes with a clear or invisible band work best for this DIY project
3. Measure and trim: Carefully remove the false lashes from the packaging using tweezers. Hold the lash strip up to your eye to determine the appropriate length. It’s generally a good idea to trim the lashes from the outer corner for a more natural look. Use small scissors to cut the lash strip to the desired length.
To skip steps 2 and 3, many establishments now sell DIY lash extension kits with pre-trimmed lash extension chunks coming in different lengths and thicknesses. It’s all up to you and your preferences!
4. Apply Adhesive: Squeeze a small amount of eyelash adhesive onto a clean surface, like a piece of aluminum foil or a disposable makeup palette. Use the tip of a clean toothpick or a small brush to apply a thin, even layer of adhesive along the base of the trimmed lash strip. Wait for the adhesive to become tacky, usually for about 20–30 seconds.
Another option is using an adhesive that has a spoolie applicator. A great one is this black lash glue by Lilac St. You can apply the glue to your lashes like you would with mascara. Then, once again, apply the adhesive to the base of the lash strip for double the strength.
>> Read more: How to Choose The Best Lash Extensions Glue?
Pro tips:
- Clean adhesive off tool as you go: You don’t want your tool to get stuck in certain parts of your lashes or unnecessarily drag them and ruin your results.
- Let adhesive get tacky before applying lashes: If your adhesive is still too wet, it’ll probably slide right off and not stick the extensions well to your lashes.
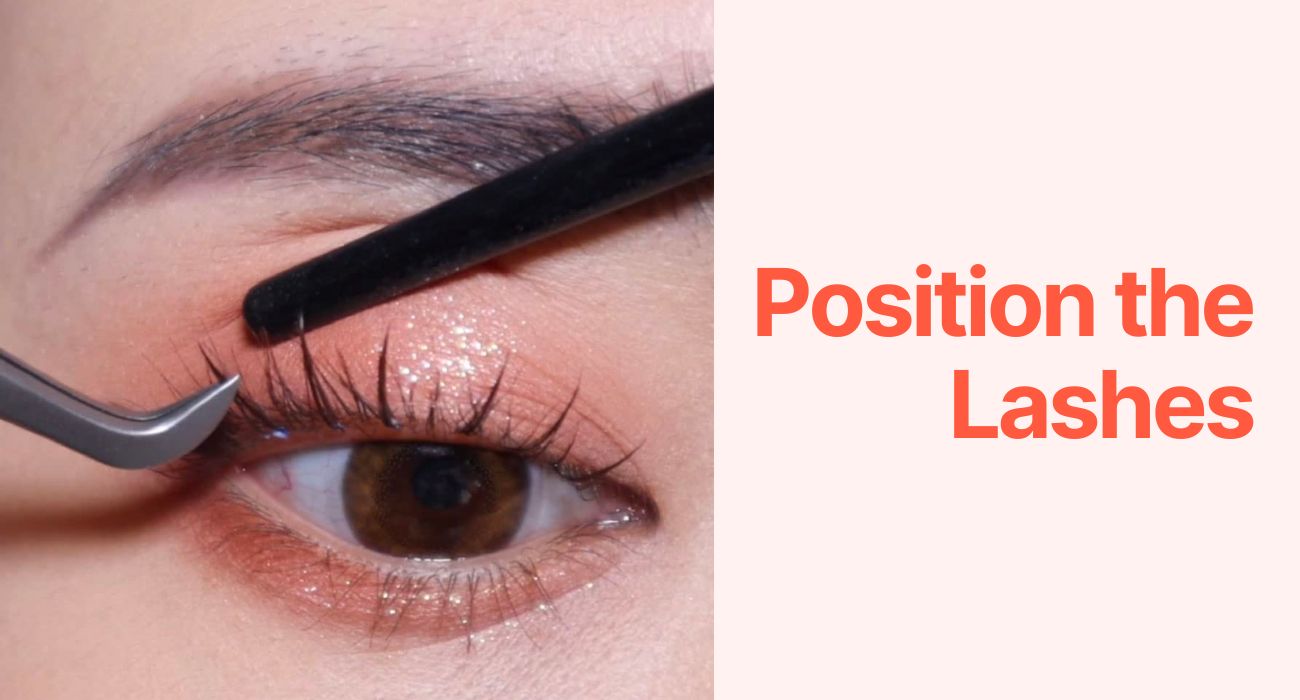
- Position the lashes: Using tweezers, carefully place the trimmed and adhesive-coated lash strip onto your natural lashes. Start from the outer corner and work your way inward, ensuring that the lashes are as close to your natural lash line as possible.
Pro tip: follow the shape of your eyes and the direction of your natural lashes while applying each lash segment.
>> Still struggling to put on those flutters? Check out: Mastering the Art of Eyelash Extension Placement
- Press and Secure: Gently press down on the false lashes with your tweezers or your fingertips to secure them in place. Use a clean spoolie brush or lash comb to brush through the extension and remove the extra adhesive or any possible clump on your lashes.
- Repeat for the other eye: Repeat the same process for the other eye. Ensure that both sets of lashes are symmetrical and positioned correctly.
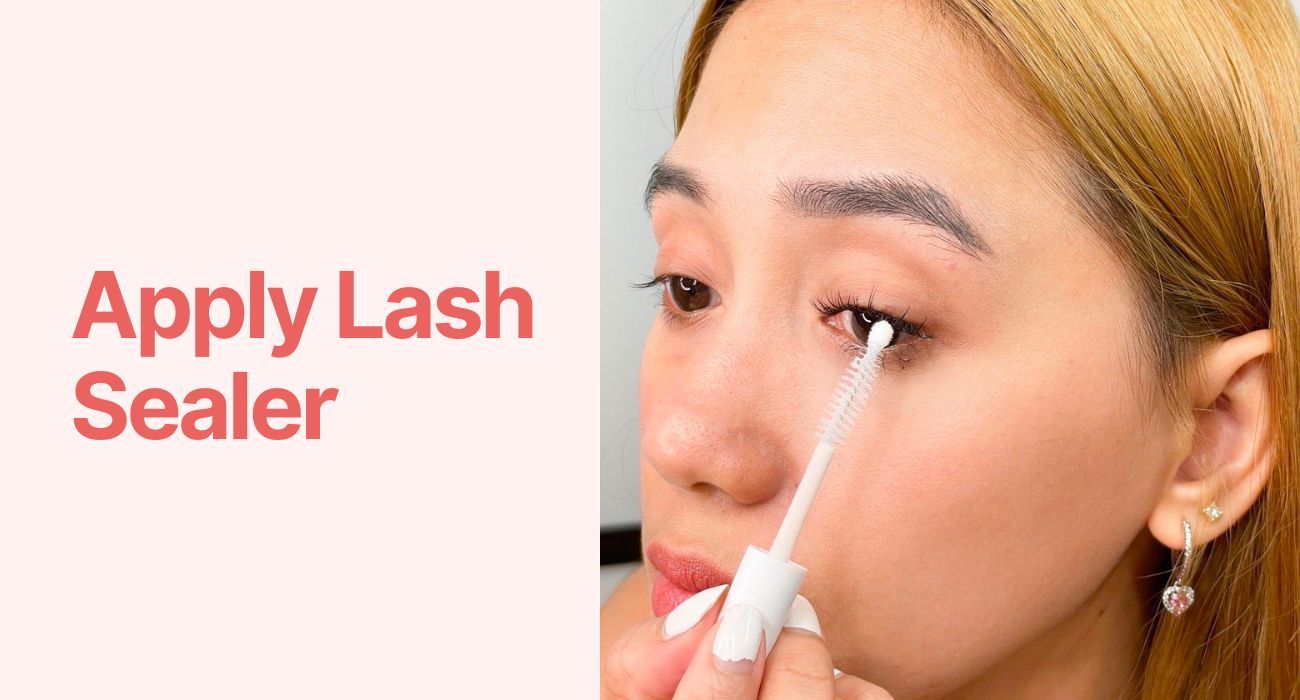
- Apply a Lash Sealer: This step is optional, but if you would like your extensions to last even through a storm, apply a lash sealer. Many sealers often come with a spoolie applicator, so you can coat your lashes with ease. This step will lock all your natural lashes, extensions, and the applied adhesive into place.
9. Adjust and Make sure they last: Once the adhesive is dry, delicately pinch the extensions and your natural lashes together using your tweezer to make sure these false lashes are well-bonded to your natural lashes.
Et voila! Your beautiful new lashes without spending hundreds of your hard-earned dollars. Many have tried this technique and said their DIY extensions can last a whole week! Some even test the longevity of this extension technique by diving into the pool, and the extensions still last through a whole day of swimming!
Remember, practice makes perfect when it comes to applying DIY lash extensions. It may take a few attempts to get the hang of it, but with patience and care, you can achieve beautiful, customized lash extensions from the comfort of your own home.
>> Wanna dive into more at-home beauty treat? Check out: Tips on how to tint eyelashes at home?
Safety Aftercare For Your DIY Lash Extensions
Our advice for keeping those lash extensions looking great is pretty simple: don’t rub your eyes with a towel, skip the waterproof mascara, and go for a gentle foam cleanser. Be kind to your lashes if you want them to stay fabulous for a long time.
Final Thoughts
In conclusion, DIY lash extensions can be a rewarding beauty venture for those who are willing to invest time, patience, and practice into mastering the art. With the right approach, you can enhance your beauty routine and achieve the luscious lashes you’ve always desired, all while enjoying the satisfaction of doing it yourself. So, go ahead, experiment, and flutter those stunning lashes with confidence!
For more updated information, visit: https://vietnamlash.com/