+84 862 765 053
Learn how to tint eyelashes at home with these expert tips and step-by-step instructions. Achieve beautiful, long-lasting results and enhance your natural lashes easily and safely. Save time and money on salon visits with our comprehensive DIY eyelash tinting guide.
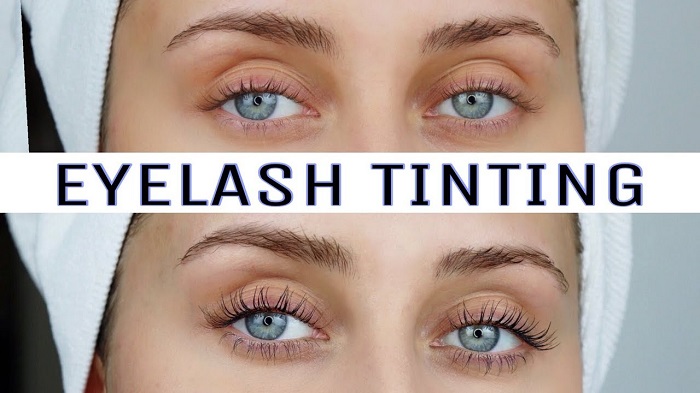
What Is Tinting Eyelashes?
Tinting eyelashes is a cosmetic procedure that involves applying a special dye or tint to the eyelashes to darken and enhance their color. This treatment is primarily done to make the lashes appear more prominent and defined without the need for mascara.
During the tinting process, a semi-permanent dye is carefully applied to the lashes, typically using a small brush or applicator. The dye is left on the lashes for a short period, usually around 10 to 15 minutes, allowing the color to develop. Once the desired intensity is achieved, the excess dye is gently wiped away, leaving the eyelashes with a darker, more noticeable hue.
Tinting eyelashes can be done in various colors, with black and brown being the most common choices. The treatment is popular among individuals with lighter-colored or naturally sparse lashes who want to create a more dramatic and defined look.
It’s important to note that eyelash tinting should be carried out by a trained and experienced professional to ensure safety and avoid any potential risks or adverse reactions. Additionally, tinting is different from eyelash extensions, which involve adding individual synthetic lashes to enhance length and volume.
Overall, tinting eyelashes is a simple and effective way to accentuate your eyes and achieve a striking, low-maintenance look.
>> Read more: Brown Lash Extensions: The Perfect Choice for Natural Beauty
How to tint your eyelashes?
To ensure safety and obtain excellent results, tint eyelashes at home involve careful planning and execution. An instruction manual for tinting your own eyelashes at home is provided below:
Before proceeding, perform a patch test 24 hours before the actual tinting to check for any allergic reactions or skin sensitivities to the dye.
What you’ll need:
1. Eyelash tinting kit (Make sure it’s a reputable brand and follow the instructions on the package). A typical eyelash tinting kit may include the following components:
- Eyelash Tint: The kit will include a tube or bottle of specially formulated eyelash tint. This tint is typically available in different colors, such as black, brown, or blue-black, to suit various preferences.
- Developer or Activator: Along with the tint, the kit will provide a developer or activator. This is a chemical solution used to mix with the tint to initiate the color-changing process.
- Mixing Dish: A small dish or palette where you can mix the tint and developer together thoroughly before application.
- Applicator Brush or Wand: The kit will contain a brush or wand specifically designed for applying the tint to your lashes evenly.
- Protective Eye Pads or Papers: These are usually included to protect the skin around your eyes from accidental staining during the application process.
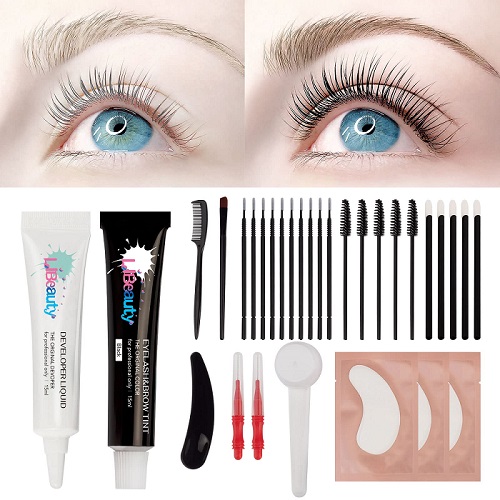
An eyelash tinting kit allows you to tint your eyelashes at home. The kit typically includes all the necessary tools and products you need to darken and enhance the appearance of your lashes without having to visit a salon or beauty professional.
2. Petroleum jelly or Vaseline
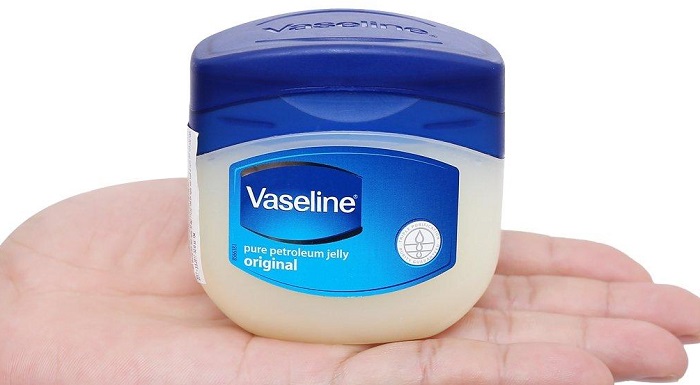
When tinting your eyelashes at home, petroleum jelly or Vaseline is used as a protective barrier around your eyes to prevent the tinting dye from staining your skin. Using petroleum jelly or Vaseline as a protective barrier is essential to prevent skin staining during the eyelash tinting process. It ensures a neater application and reduces the risk of irritation or discomfort on the delicate skin around the eyes.
3. Cotton pads or Q-tips
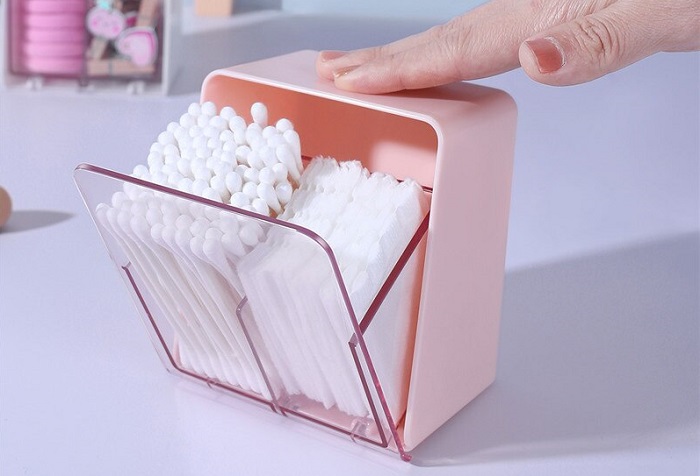
Cotton pads can be used to apply a thin layer of petroleum jelly or Vaseline around your eyes. This protective barrier helps prevent the tinting dye from coming into contact with your skin, reducing the risk of skin staining and irritation. When tinting your eyelashes at home, it’s essential to use clean and disposable cotton pads for each step to maintain a hygienic environment and reduce the risk of eye irritation or infection. Cotton pads are a useful and versatile tool that can assist you throughout the process, from applying the protective barrier to removing the tinting dye, all while maintaining a comfortable and safe experience.
Step-by-step eyelash tinting process:
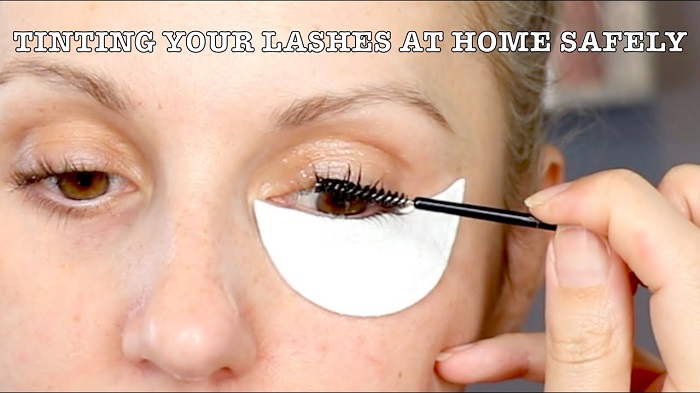
Protect the skin around your eyes: Apply a thin layer of petroleum jelly or Vaseline around your eyelids and under your eyes. This acts as a barrier and prevents the dye from staining your skin during the process.
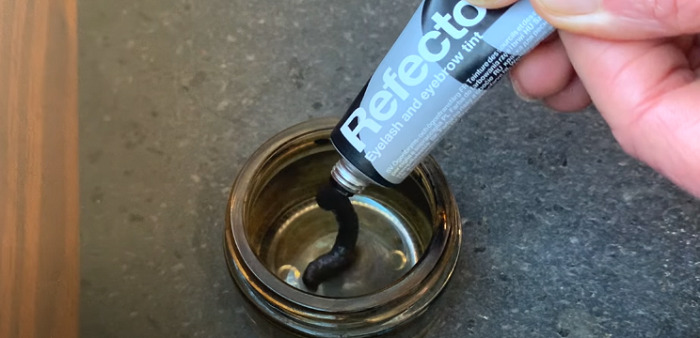
Mix the tint: Follow the instructions on the tinting kit to mix the dye properly. Most kits include a developer and a color tube. Squeeze a small amount of the color tube into the mixing dish or palette, and add a few drops of the developer. Mix them together thoroughly.
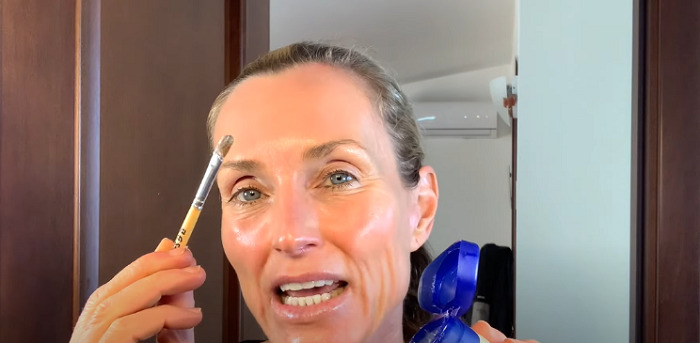
Apply the tint: Using the applicator wand or a clean mascara wand, apply the tint to your eyelashes. Start from the roots and work your way toward the tips. Be careful not to get the dye into your eyes.
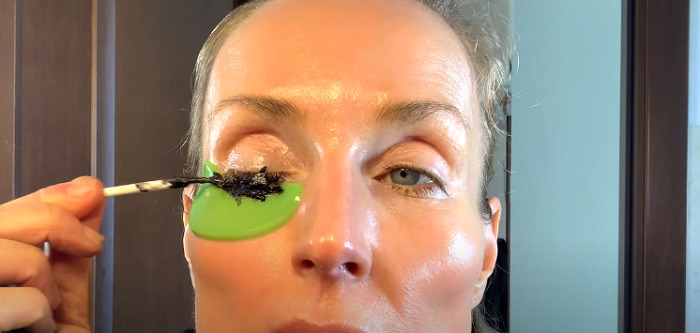
Wait for the recommended time: Allow the tint to develop on your lashes for the specified duration. This is usually around 10 to 15 minutes, but it may vary depending on the kit.

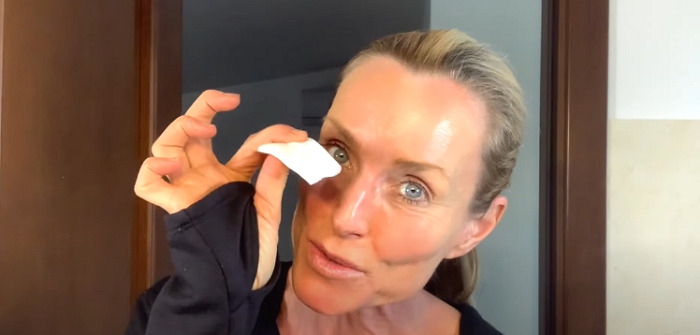
Remove the dye: After the waiting time is over, gently remove the dye from your lashes using a damp cotton pad or Q-tip by Micellar Cleansing Water. Be thorough but gentle in this step.
Assess the results: Check the mirror to see the results of the tinting process. If you’re satisfied with the color, you’re done!
Important safety tips:
Always perform a patch test before each tinting session to check for allergic reactions or skin sensitivities to the dye. Follow the instructions provided with the tinting kit carefully, and avoid leaving the dye on your lashes for longer than recommended. Be cautious during the process to avoid getting the dye into your eyes, as it can cause irritation and discomfort.
If you have concerns or doubt your ability to do it safely, consider seeking professional help for the first time or for subsequent tinting sessions.
Remember that tinting your eyelashes at home carries some risks, and it’s essential to exercise caution and follow safety guidelines. If you are unsure about the process or if you have any eye conditions or sensitivities, consult with a professional esthetician or beautician before attempting DIY eyelash tinting.
How Long Do Eyelash Tinting at Home Results Last?
Due to the natural cycle of eyelash development, a properly applied lash tint can last up to 6–8 weeks.
You’ll see your lashes getting lighter and lighter as a result of coloured lashes starting to fall out as new lashes emerge.
The color will fade more quickly if you tint your own eyelashes at home since you probably can’t get the dye as close to the roots of your lashes as a lash technician can.
Other variables to take into account include frequent exposure to sunshine or chlorinated water, which will likely cause fading to occur earlier than 6 to 8 weeks after application.
Should You Tint Eyelashes at home?
Tint eyelashes at home might be the best option for you if you want to enhance your natural eyelashes by making them darker and more noticeable.
You may enjoy swimming and exercising without worrying about your mascara running down your face, and it can help you cut back on your daily makeup regimen.
To properly develop the tint and reduce the chance of overprocessing and harming your lashes, use only eye-safe, premium products and according to the directions on the label.
>> Explore Eyelash Extensions Alternatives for an irresistible gaze upgrade: Exploring Eyelash Extension Alternatives!
In conclusion
In summary, using an eyelash tinting kit will enable you to color your eyelashes at home. It has certain advantages including simplicity, affordability, and the potential to get darker and more defined lashes without using mascara or cosmetics. Ultimately, whether you choose to tint your eyelashes at home or visit a professional, always prioritize safety, follow instructions carefully, and be mindful of any adverse reactions or discomfort during the process.