Volume lash extensions have become a popular choice for both lash technicians and their clients, offering a lush and glamorous look. However, creating flawless volume extensions can be intricate and time-consuming. To achieve a voluminous, lightweight, and beautiful lash set efficiently, lash artists often turn to reliable techniques. One such technique that has gained popularity in recent years is the pinch method. In this article, we’ll reveal how to do the pinch method. Let’s dive in!
What is the Pinch Method?
The pinch method stands as a versatile and effective approach for volume lashing, catering to lash artists of all skill levels. As the name suggests, this technique entails using your fingers to delicately pinch the base of lash extensions into a fan shape. Particularly advantageous for beginners aiming to hone their volume and mega volume techniques, the pinch method offers swiftness, simplicity, and conserves adhesive compared to other methods. So, how exactly is the pinch method executed? Let’s explore!
Ensuring Lash Symmetry
Symmetrical lash fans are paramount in achieving a cohesive and appealing look with eyelash extensions. Several factors contribute to this symmetry:
Space
If these fans are too wide or not evenly spaced, your lashes can end up looking messy and uneven. You should be aware that the space will change based on how big your fans are. The gap between the lashes will be larger, for instance, if you are using 2D fans to create a look; it will be slightly smaller, even smaller, if you are using 3D fans, and so on.
If a fan is narrow, normal, or wide, it will be shown by the space between the lashes. Most significantly, an uneven fan opening might result in a misaligned or closed fan—every lash technician’s worst nightmare! In case you were attempting to create a 5D lash look and three of the lashes on the fan were closed, it would appear dissimilar from the other 5D symmetrical fans and give a ‘gappy’ finish instead of the stunning lashes that everyone strives for!
Body of the Fan
The fan’s body is the next component. The balance of your fan should consist of approximately 1/3 of the base of the fan and 2/3 of the body.
The base of the Fan
If the base is too long, it means there’s more space between each extension. When the fan is applied, you might notice some sparse areas on your lashes because they can’t fill in the gaps effectively. On the other hand, if the base is too short, it means there’s not enough surface area to hold onto your natural lashes. This can lead to poor retention, meaning the extensions might not stay in place as well as they should. Always remember that a tapered fan base will prevent the base from splitting and attaching improperly, which may result in poor retention, stickies, and pain for your client!
To get the best results with your eyelash extensions, it’s important to make sure your lash fans are symmetrical, not too wide, and have the right length at the base.
How to do the pinch method? Step-by-step
Step 1: Remove Lashes From the Strip
Begin by selecting the number of lashes you’ll use to construct your fan. The more lashes you choose, the larger the resulting lash fans will be.
With pinch method lashes, it’s advisable to start with more individual lash extensions per fan, as the tension between the fibers makes them easier to shape. Always consider your client’s desired look, whether it’s wispy, full, hybrid, or mega volume, and select your lashes accordingly. Also, take into account your client’s natural lash condition to avoid heavy fans if their lashes are weak.
Using your tweezers, lift your desired number of extensions from the lash tray, gripping the middle of the lashes just above the sticky strip. This ensures the lash curl remains intact. Avoid twisting the bases and maintain tension in the selected lashes until you’re ready to pinch. The choice of tweezers and lashes will affect the final outcome, so use tweezers that you have good control over and lashes that suit the pinching method.
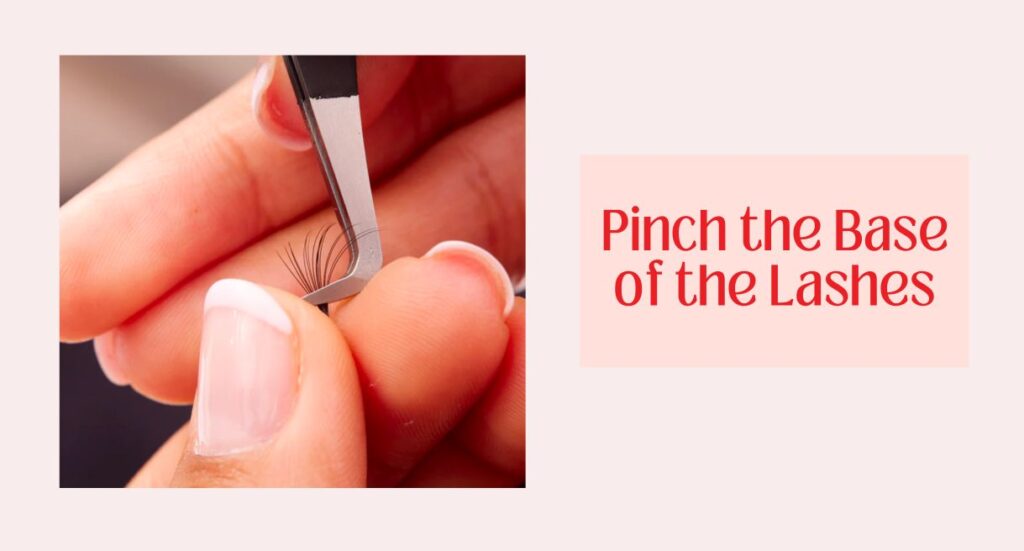
Step 2: Pinch the Base of the Lashes
Hold the selected lashes toward your chest for better control and to avoid twisting the fibers. Pinch the bases together with your index finger and thumb, making sure not to twist the lashes. As you pinch, slowly release the pressure on your tweezers to allow the lash fans to take shape. This part may require practice, as achieving the perfect fan shape can be a bit tricky.
The goal is a wide fan at the top and a pinched base. You may need to adjust the pressure on the base to shape the fan correctly. For more control, rest the tip of your tweezers on top of your thumb when releasing pressure. Maintain tension with the tweezers until you dip the base into adhesive to secure the fan.
If you find this step challenging, consider using easy fan lashes. These are heat-bonded at the base, reducing the need for as much grip with your tweezers as the lash bases stick together.
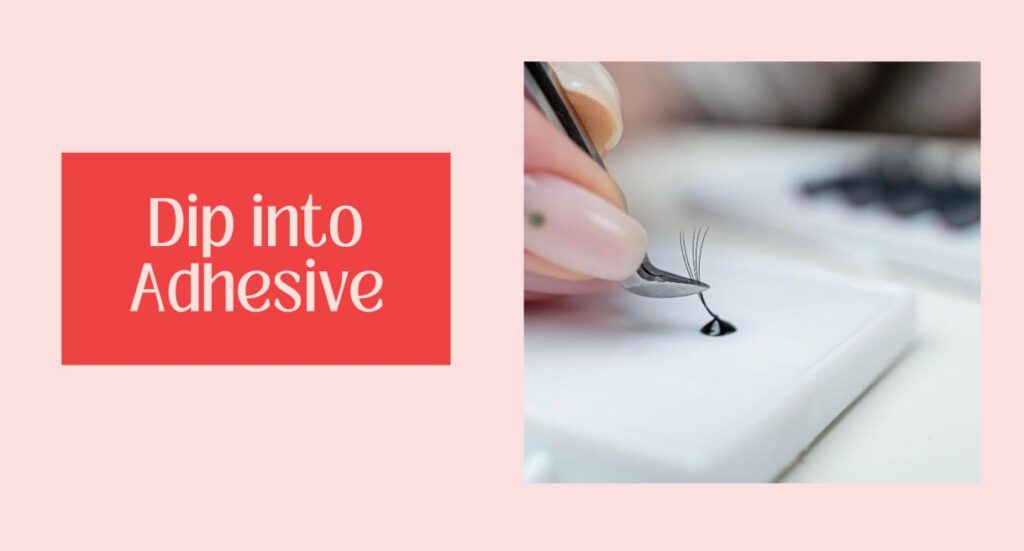
Step 3: Dip into Adhesive
After grabbing the fan’s base, carefully immerse it into your adhesive. Never forget that sticky, delicious area. Excessive application of adhesive can cause your client’s natural lashes to appear clumpy and will negatively impact your isolation. On the other hand, your client will be unhappy about low retention if there is insufficient adhesive.
Next, apply your volume fan as usual to the isolated lash of your client, making sure to leave some space before the lash line to preserve the lash growth cycle. And presto—you’d have produced the most exquisite and ideal fan!
When using the pinch method, it’s essential to use a high-quality adhesive. To expedite your lashing process, consider using a quick-drying glue, such as the 1-second drying time adhesive, if you’re very skilled.
>> Access our reference list to save time on research and improve accuracy in your work: The Best Lash Glue Of 2024 – A Guide To Choose
How to do the pinch method: Tips and Tricks
Here’s the trick: if the pinch technique doesn’t give you the results you want right away, don’t panic. Instead of tossing those lashes aside, give it another shot. Pinch 3, 4, or even 5 times until you nail it. Lashes can be pricey, especially when you’re just starting out, so making the most of your supplies is key.
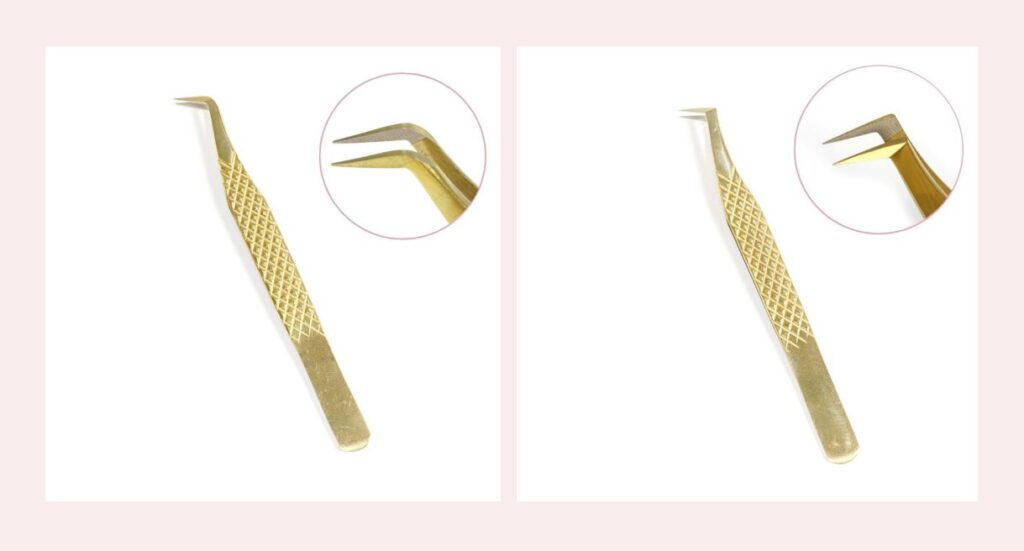
Now, for the technique itself, you’ll need Volume Lashes and L Shape Tweezers. These tools are essential for mastering the pinch technique.Discover our meticulously chosen tweezers tailored for fan lash technique, designed to elevate your work efficiency: Volume Tweezers
I totally wish I knew about this when I was practicing! It’s all about getting that tiny movement just right, and that requires lots and lots of practice. I used to get frustrated, spending so much money on lash trays only to throw them away because my fans didn’t turn out as I hoped.
Oh, and if you’re like me and your hands tend to shake a bit, here’s a helpful tip: stabilize your index finger on the tip of the tweezer as you pinch. This little trick prevents the fans from falling apart due to unsteady hands.
>> Wanna be a pro at picking tweezers? Wait no longer! Check out:
- How To Choose Right Lash Tweezers? It’s Never Been Easier!
- What Are Types Of Tweezers For Eyelash Extensions? It’s All Here!
Conclusion
How to do the pinch method for volume lashes is a skill that can set you apart in the world of lash extensions. It offers the potential to create stunning, natural-looking volume with faster application and excellent retention. As with any advanced technique, practice, patience, and dedication are key to becoming proficient. So, go ahead, give it a try, and watch your clients’ lashes transform into voluminous, captivating works of art. Happy lashing!
Take action whenever you are ready, and feel free to visit our website for more updated information: https://vietnamlash.com/